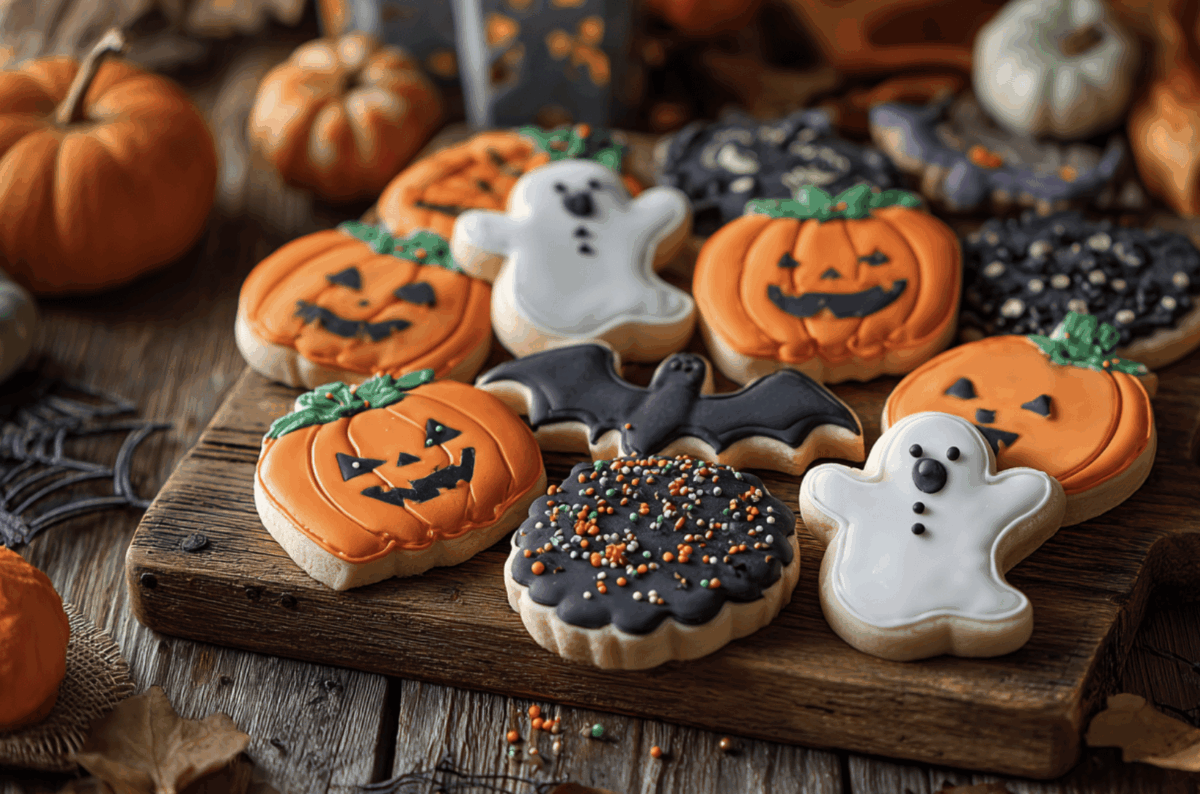
These scrumptious Halloween Soft Sugar Cookies are straightforward to make, hold their form while cooking, and remain soft for days!
Why We Love These Halloween Soft Sugar Cookies
My children have been asking to make Halloween cookies given that September, yet it’s always felt more demanding than fun. This recipe altered whatever– it’s virtually fail-safe, and the cookies remain soft for days.
These tender, fail-safe sugar cookies hold their shape completely while baking, and the simple decorating strategy makes them achievable despite having little helpers!
Make-Ahead Magic for Busy Families
The dough actually enhances after chilling overnight, which indicates you can prep it after dinner and have cookie-cutting ready for the following day’s after-school task. The baked cookies remain soft in a closed container for as much as a week, so you can make them in advance for events or trick-or-treaters. This has actually been a game-changer for our Halloween celebration prep.

The Science Behind Perfect Sugar Cookies: Why Brown Sugar Changes Every Little Thing
A lot of sugar cookie dishes rely completely on white sugar, but the genuine trick to cookies that remain soft and have incredible taste is comprehending how different sugars work in your dough.
Why Brownish Sugar Makes All the Distinction
The molasses in brown sugar does not simply add flavor– it imitates a moisture magnet, keeping your cookies soft and chewy even days after cooking. While white sugar produces structure and helps cookies spread out, brown sugar keeps water molecules, which implies your cookies won’t become crispy discs overnight. The combination provides you the very best of both worlds: cookies that hold their shape yet remain tender enough for kids to in fact appreciate eating.
The 3: 2 proportion of white to brown sugar in this dish is vital for obtaining the ideal appearance. Too much brown sugar and your cookies will be too soft to hold clean edges when cut; too little and they’ll be tough by day two. When creaming the butter with both sugars, beat for a full 2 – 3 mins till the combination looks light and fluffy– this incorporates air that maintains the last cookies tender. You’ll recognize it prepares when the combination has actually lightened in color and raised in quantity.

Ages 3 – 5: The Decor Specialists
Little ones excel at adding sprays, sweet eyes, and pushing Halloween candies onto frosted cookies. Provide their own tiny dish of decors and allow them go wild– their innovative choices typically turn out more charming than any kind of grownup’s careful planning. They can also help by dividing different colored sprinkles right into tiny bowls, which keeps them involved while you handle the a lot more specific decorating.
Ages 6 – 9: The Cookie Cutter Team
This age loves making use of the cookie cutters and can take care of transferring cut cookies to the cooking sheet with a slim spatula They’re additionally best for presenting scraps of dough momentarily round of cutting, and they can help arrange cookies by form prior to embellishing. My children this age get very major regarding ensuring each ghost has the perfect expression.
Ages 10 +: The Head Decorators
Older children can take care of the icing bags or capture bottles to create thorough layouts, and they often have the patience for more detailed decorating techniques like flooding cookies with topping. They can additionally assist more youthful siblings with their enhancing tasks, which offers you a few minutes to tidy up as you go. These are the kids that transform cookie designing into an art form.
Optional for delicious chocolate variation:
- Replace 1/ 2 mug of the flour with 1/ 2 mug bitter dark chocolate powder
For decorating:
- Royal topping or sugar cookie icing
- Halloween sprays, candy eyes, colored sugar, or chopped Halloween candies

More Tasty Halloween Treats to Try:
Delighted baking and have a spooky, wonderful Halloween with your household!
Halloween Soft Sugar Cookies
These scrumptious sugar cookies are basic to make, hold their shape while cooking, and stay soft for days!
Portions: 24 cookies
Cost: $
-
In A Big Dish, Beat The Butter, Granulated Sugar, And Brown Sugar On Tool Rate Until Light And Fluffy, Regarding 2 – 3 Minutes.
-
Add The Egg And Vanilla Essence, Mixing Just Until Integrated.
-
In A Different Bowl, Whisk With Each Other The Flour, Cooking Powder, Baking Soda, Salt, And Cocoa Powder If Using.
-
Gradually Include The Dry Contents To The Wet Ingredients, Mixing On Low Speed Till Simply Integrated. Do Not Overmix.
-
Squash The Dough Into A Disk, Cover It In Cling wrap, And Cool In The Refrigerator For A Minimum Of 1 Hour (As Much As Overnight).
-
Preheat The Oven To 350 ° F (175 ° C). Line Cooking Sheets With Parchment Paper Or Silicone Cooking Mats.
-
On A Lightly Floured Surface Area, Turn Out The Dough To Concerning 1/ 4 -Inch Thickness. Use Halloween-Themed Cookie Cutters To Cut Out Shapes.
-
Place Cookies 2 Inches Apart On Prepared Cooking Sheets. Bake For 8 – 10 Minutes, Up Until The Edges Are Set However Centers Still Look A Little Underbaked.
-
Enable Cookies To Cool On The Baking Sheet For 5 Minutes, After That Transfer To A Cake Rack To Cool Entirely.
-
As Soon As Cooled down, Decorate With Royal Icing Or Sugar Cookie Icing. Include Sprinkles, Sweet Eyes, Or Chopped Candies While Topping Is Still Damp For Best Attachment.
Cool The Dough Well To Prevent Cookies From Spreading Way Too Much While Baking. Step Flour By Spooning Into The Cup And Leveling With A Knife For Finest Structure. For Younger Children, Usage Pre-Made Frosting To Enhance Rather Than Royal Icing To Streamline And Decrease Mess.